Banana pudding may look like a dessert that takes hours to prepare, especially when it is served in a large glass bowl with all those neat layers.
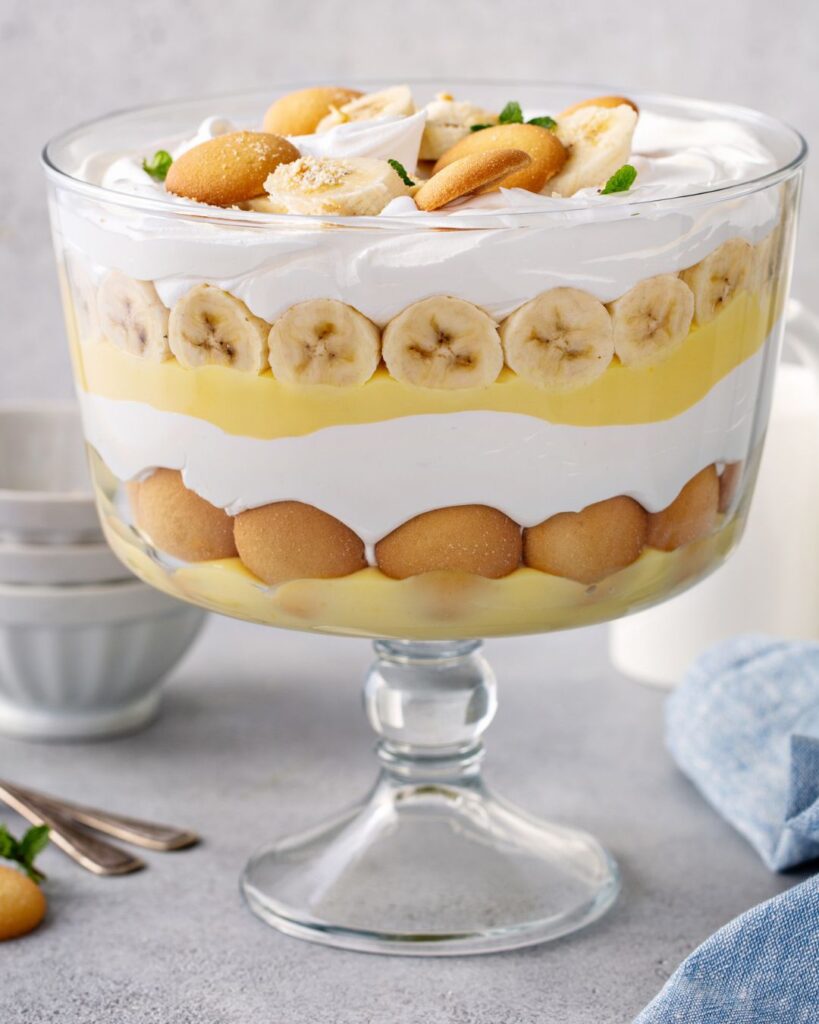
In reality, most of the work is simply arranging vanilla wafers, sliced bananas, pudding, and whipped cream.
I like making it when we have family coming over because it can be prepared ahead of time and there is enough for everyone.
A few hours in the refrigerator soften the cookies and help all the layers settle together. It is cool, creamy, and sweet without needing to turn on the oven.
Ingredients You’ll Need
Instant vanilla pudding: Two 3.4-ounce boxes create the creamy base without cooking a homemade custard.
Cold whole milk: You will need 3 cups. The milk must be cold so the pudding thickens properly.
Sweetened condensed milk: One 14-ounce can makes the pudding richer and adds sweetness.
Vanilla extract: One teaspoon gives the pudding a little more homemade flavor.
Whipped topping: Use one 12-ounce container, thawed. Some is folded into the pudding, while the rest forms the creamy layers and topping.
Bananas: Five or six ripe but firm bananas are enough for several layers. Avoid overly soft bananas because they brown quickly and can become mushy.
Vanilla wafers: One 11-ounce box provides the cookie layers and a few extra wafers for decorating the top.
Fresh mint: This is optional, but a few small leaves add color when the pudding is served.
How to Make Banana Pudding
Prepare the pudding: Add the instant vanilla pudding mix and cold milk to a large bowl. Whisk for about two minutes, until the mixture begins to thicken.
Add the condensed milk: Pour in the sweetened condensed milk and vanilla extract. Whisk until the mixture is smooth, then let it stand for about five minutes.
Fold in the whipped topping: Gently fold half of the whipped topping into the pudding mixture. Keep the remaining half for assembling the layers and decorating the top.
Prepare the bananas: Peel and slice the bananas shortly before assembling the dessert so they do not have time to brown.
Start the first layer: Arrange vanilla wafers across the bottom of a large trifle bowl. Spoon a layer of pudding over the cookies, followed by sliced bananas and a layer of whipped topping.
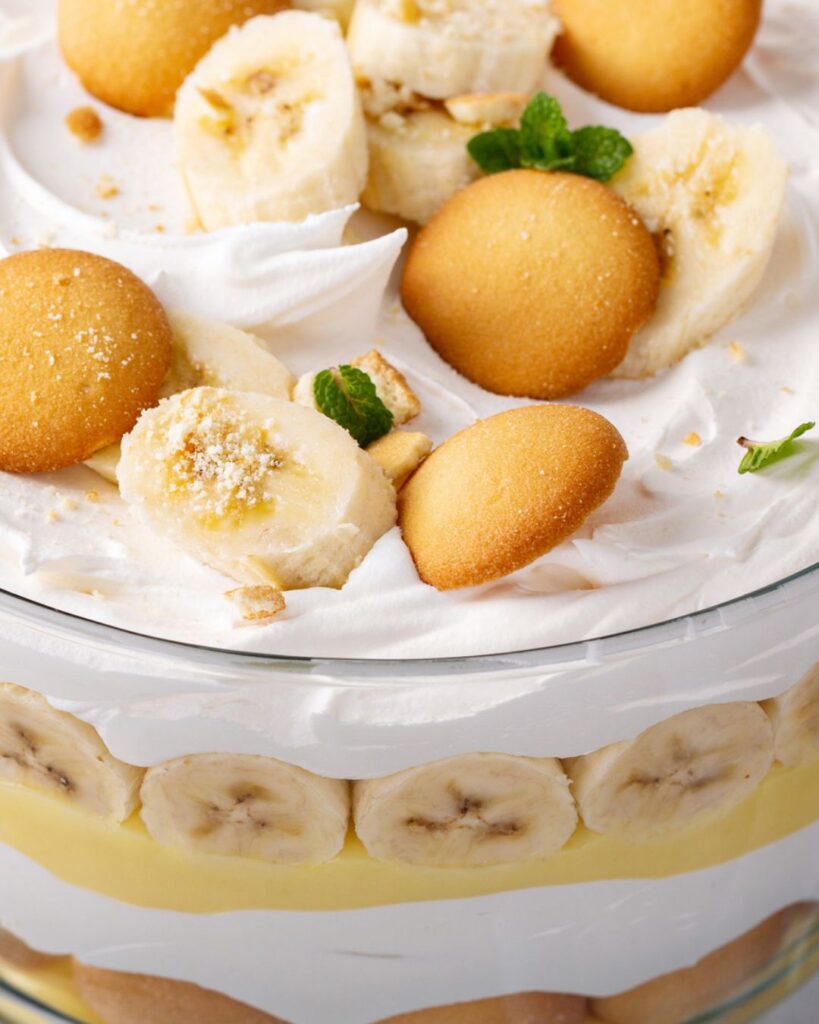
Repeat the layers: Continue adding wafers, pudding, bananas, and whipped topping until the bowl is full. Finish with a generous layer of whipped topping.
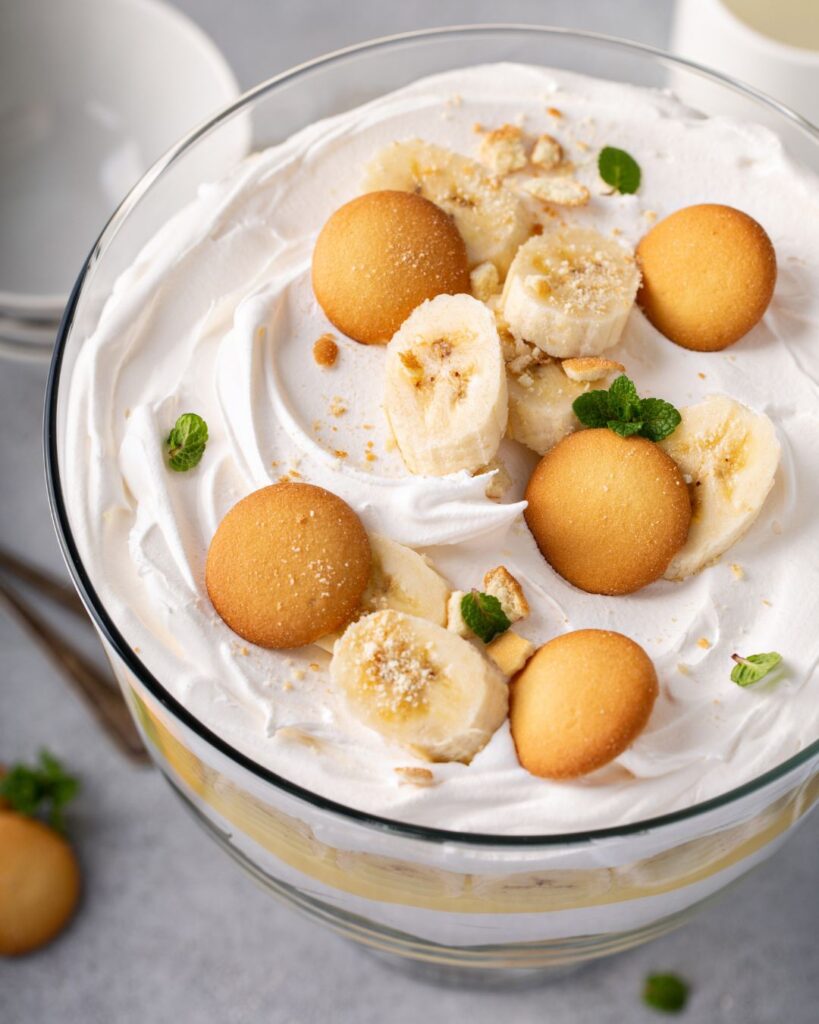
Decorate the top: Add several whole vanilla wafers, a few banana slices, crushed cookie crumbs, and fresh mint if using.
Chill before serving: Cover the bowl and refrigerate the banana pudding for at least four hours. This gives the wafers time to soften and makes the dessert easier to serve.
Recipe Notes
Choose firm bananas: Use yellow bananas with few or no brown spots. Very ripe bananas become soft quickly and can make the pudding watery.
Slice the bananas last: Prepare the pudding and cookies before cutting the bananas. This limits the amount of time they are exposed to air.
Keep bananas away from the top: Banana slices used as decoration will brown first. Add them shortly before serving if you want the dessert to look fresh.
Adjust the cookie texture: Chill the pudding for at least four hours for slightly softened wafers. Leave it overnight if you prefer soft, cake-like cookie layers.
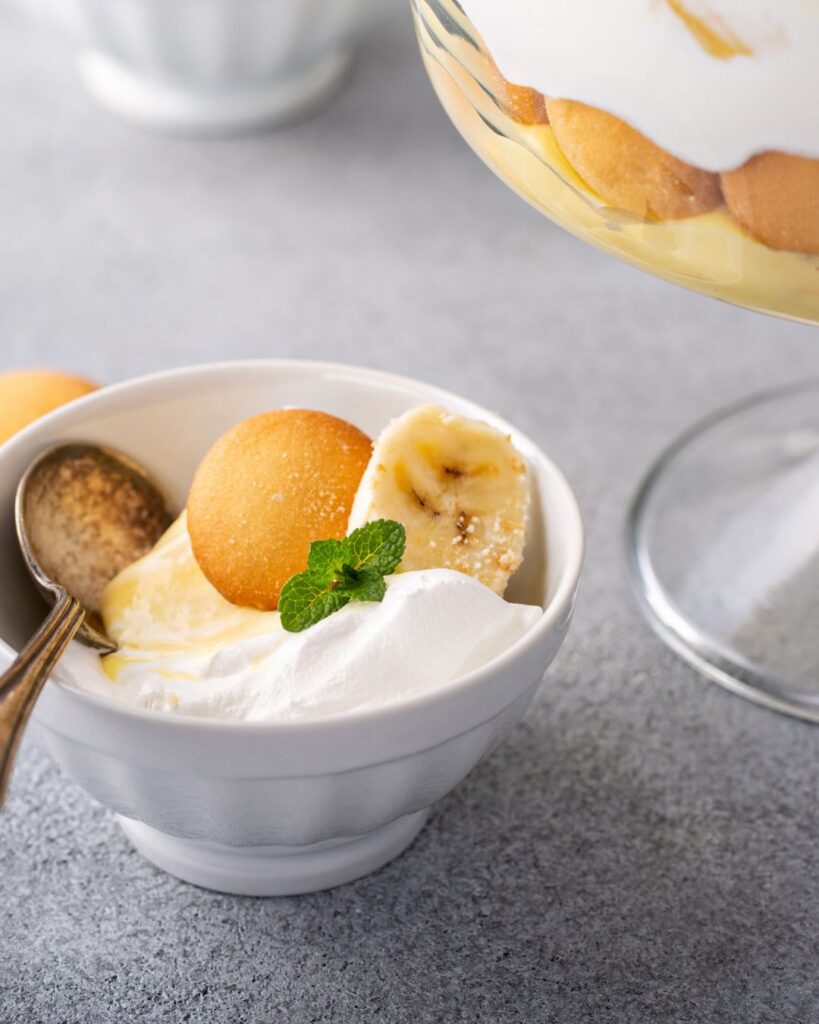
Use another serving dish: A trifle bowl shows off the layers, but a deep glass baking dish or large serving bowl works just as well.
Make individual servings: Assemble the same layers in small glasses or jars for parties and easier serving.
Do not freeze it: The bananas can become mushy and the creamy layers may separate after thawing.
Store it cold: Keep the banana pudding covered in the refrigerator. It tastes and looks best within two days, although leftovers can be kept for up to three days.
Wait to add the final decorations: Place whole wafers, fresh banana slices, cookie crumbs, and mint on top shortly before serving so they remain fresh.