Cake pops are basically cake in party clothes.
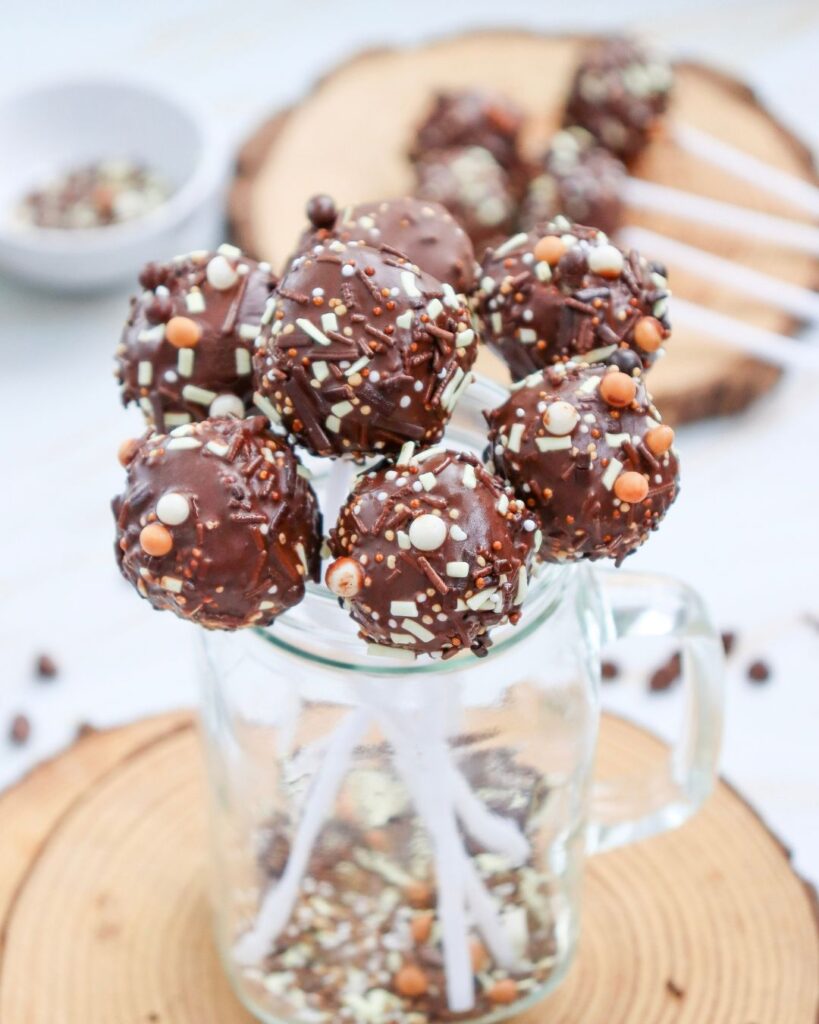
Crumble a baked cake, mix it with frosting, roll it into balls, and cover each one in chocolate and sprinkles. They look far more complicated than they really are.
This version starts with boxed cake mix, so you can spend your time on the fun part: dipping and decorating. Change the cake, frosting, chocolate, and sprinkles to match a birthday, school party, holiday, or whatever you’re celebrating.
The only part you shouldn’t rush is chilling the cake balls. Cold, firm balls are much easier to dip and far less likely to fall off the sticks.
Ingredients You’ll Need
- 1 box cake mix: Use any flavor you like.
- Ingredients listed on the cake mix box: This is usually eggs, water, and oil, but follow the instructions on your package.
- ½ cup Betty Crocker frosting: Any flavor will work. Begin with less if the cake is already very moist.
- 1 cup chocolate chips: You can also use melting chocolate or candy melts.
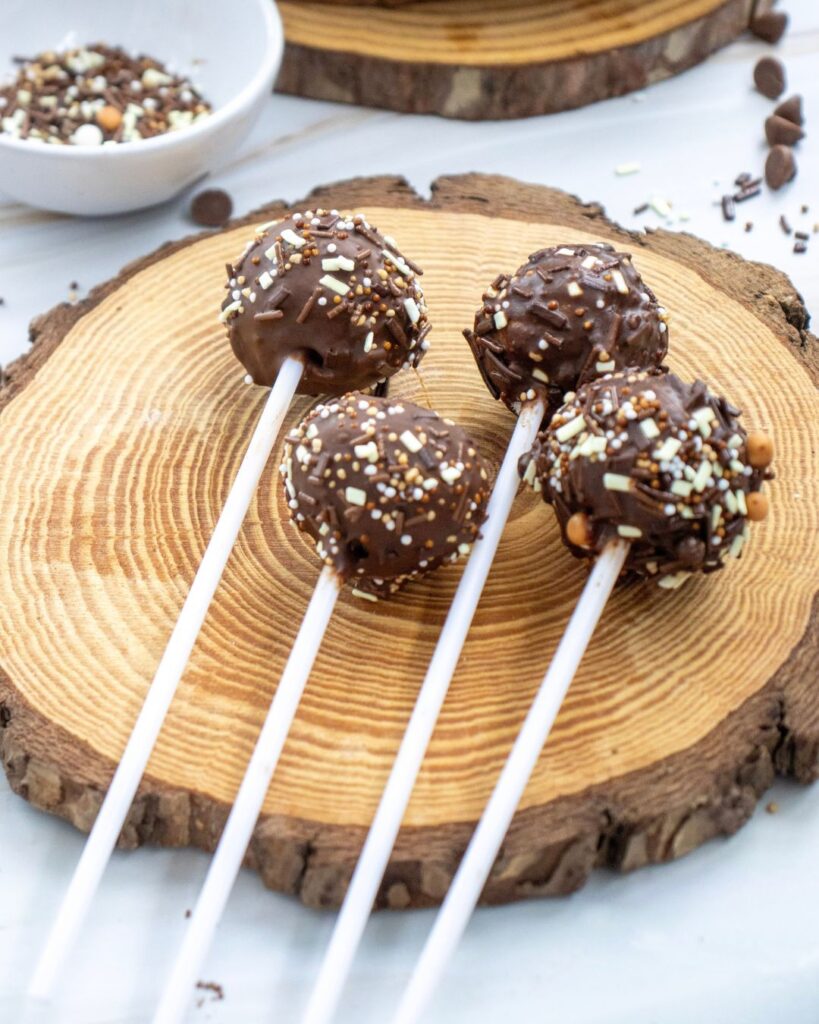
- Sprinkles: Choose colors that suit the occasion.
- Lollipop sticks: You’ll need one for each cake pop.
- Styrofoam block or cake pop stand: This keeps the pops upright while the coating sets.
How to Make Cake Pops
1. Bake the Cake
Preheat the oven according to the instructions on the cake mix box. Prepare the batter as directed, pour it into a greased baking pan, and bake for the time shown on the package, usually around 25–30 minutes.
Let the cake cool completely before moving on. If it’s still warm, the frosting can melt and make the mixture too soft.
2. Crumble the Cake
Break the cooled cake into pieces and place them in a large bowl. Use your hands to crumble it until there are no large pieces left.
The crumbs should be fine and even. Any hard edges or large pieces can make the finished cake balls lumpy.
3. Add the Frosting
Add about ½ cup of frosting to the cake crumbs and mix until everything holds together.
It’s best to add the frosting gradually. Depending on the cake flavor and how moist it is, you may not need all of it. The mixture should hold its shape when pressed into a ball without feeling wet or sticky.
Too much frosting makes the cake pops heavy and soft, which can cause them to slide off the sticks later.
4. Roll the Cake Balls
Scoop out about 1 tablespoon of the mixture and roll it between your palms to form a smooth ball.
Place it on a parchment-lined baking sheet and repeat with the remaining mixture. Try to keep the cake balls close to the same size so they look neat and chill evenly.
5. Chill Until Firm
Refrigerate the cake balls for 30–60 minutes. They should feel firm enough to pick up without changing shape.
Don’t freeze them solid. Cake balls that are extremely cold can cause the warm chocolate coating to crack as everything returns to room temperature.
6. Melt the Chocolate
Place the chocolate chips in a microwave-safe bowl. Microwave in 30-second intervals, stirring well after each one, until smooth.
Stop heating once only a few small pieces remain and stir until they melt. Chocolate can burn quickly, and overheated chocolate becomes thick and difficult to use.
A narrow cup or bowl makes dipping easier because the chocolate will be deep enough to cover the whole cake ball.
7. Add the Sticks
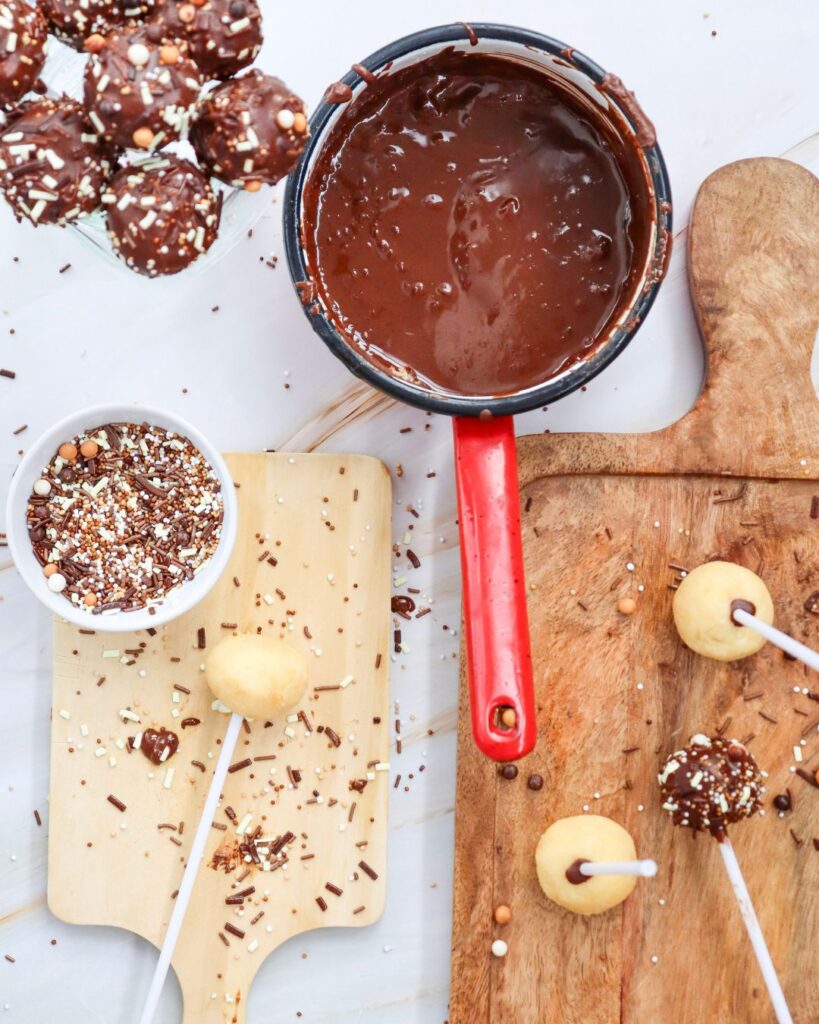
Dip one end of a lollipop stick into the melted chocolate, then insert it halfway into a chilled cake ball.
The small amount of chocolate works like glue and helps the cake ball stay attached. Repeat with the remaining sticks and cake balls.
8. Dip the Cake Pops
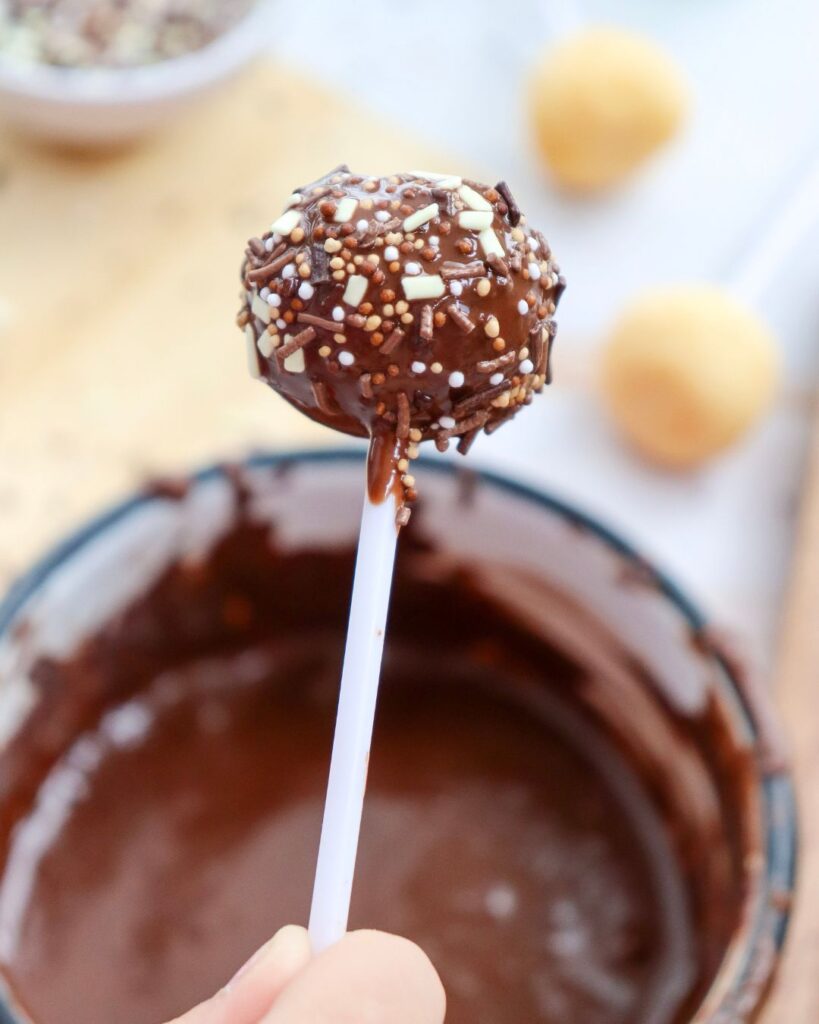
Hold a cake pop by the stick and lower it straight into the melted chocolate until fully covered. Lift it out and gently tap off the excess.
Avoid stirring the cake pop around in the chocolate, since that can loosen it from the stick. If the chocolate starts to thicken, warm it briefly and stir again.
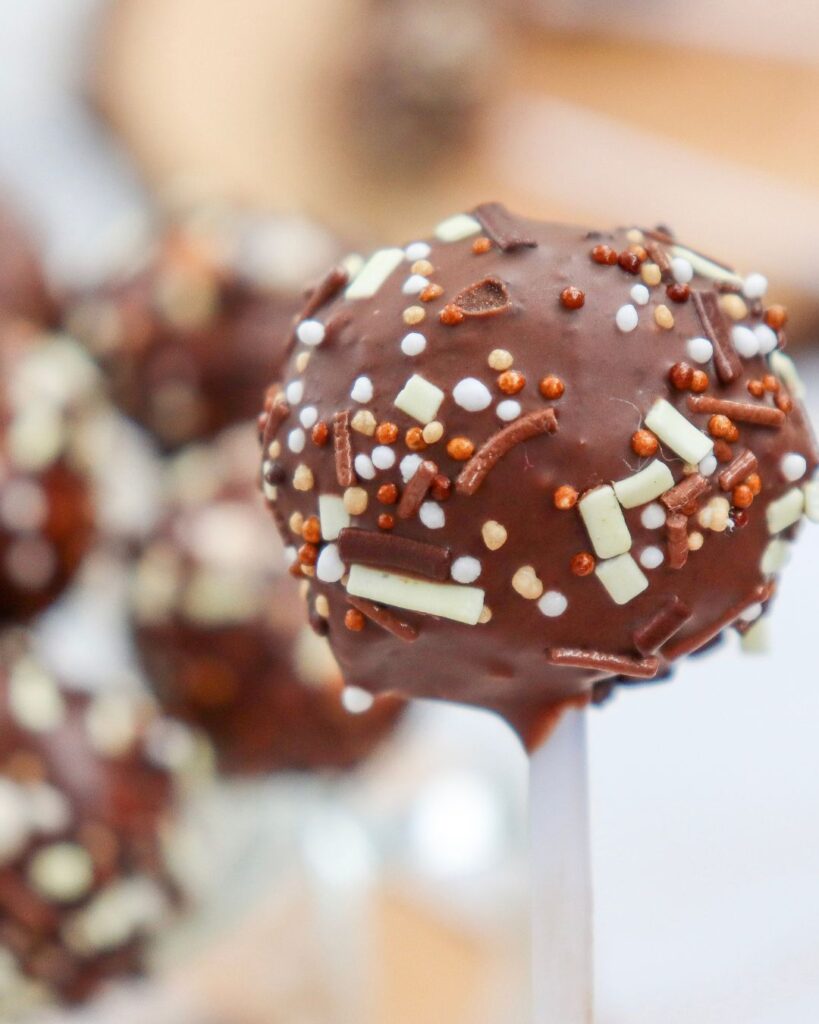
9. Decorate
Add the sprinkles immediately, before the chocolate coating starts to set.
You can roll the cake pop gently in a bowl of sprinkles or hold it over the bowl and scatter them on top. Adding too many can make the coating heavy, so a light layer is usually enough.
10. Let Them Dry
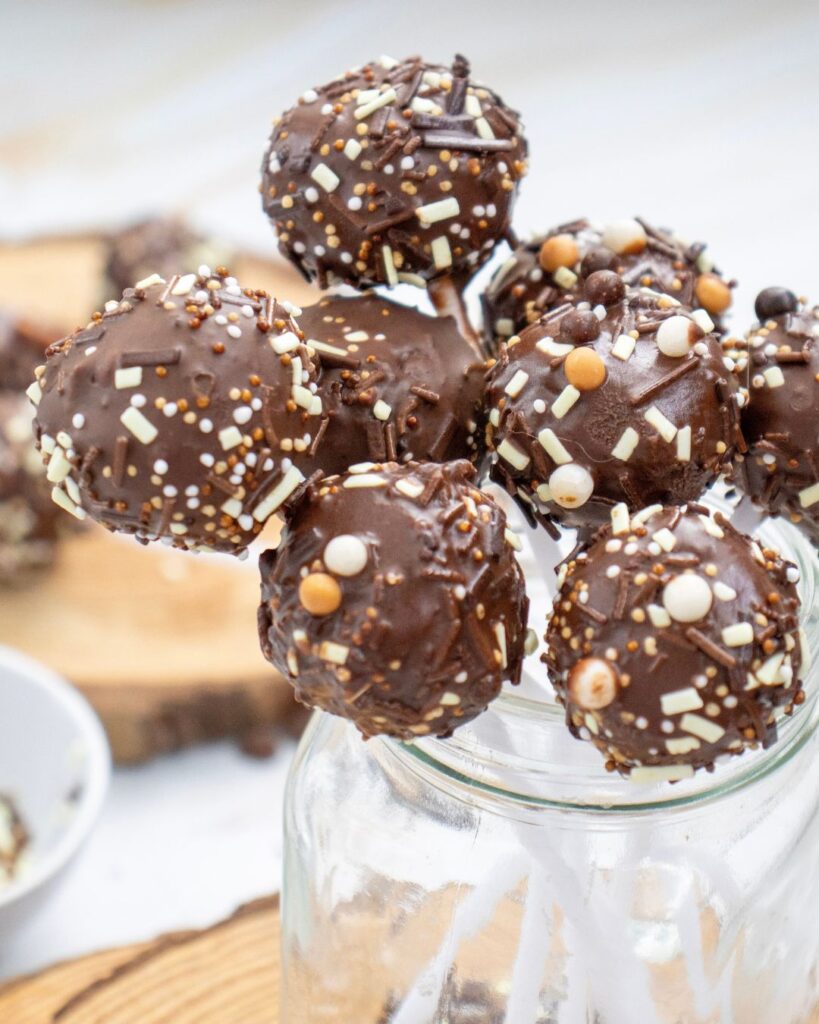
Place each finished cake pop upright in a Styrofoam block or cake pop stand. Leave them for approximately 30 minutes, or until the chocolate is completely set.
Once the coating is firm, the cake pops are ready to serve.
Tips for Cake Pops That Stay on the Stick
Start with a small amount of frosting and add more only if the crumbs won’t hold together. A soft, overly frosted mixture is one of the main reasons cake pops fall apart.
Don’t make the balls too large. One tablespoon of cake mixture is enough for each one and keeps the weight manageable.
Dipping the stick in chocolate before inserting it creates a small seal inside the cake ball. Give it a moment to set before dipping the entire pop.
Make sure the melted chocolate is smooth and fluid. If it’s thick, you’ll need more force to coat the cake ball, which makes it easier to pull it off the stick.
Flavor Combinations to Try
Chocolate cake with chocolate frosting is the obvious choice for anyone who believes there’s no such thing as too much chocolate.
Vanilla cake and vanilla frosting give you a neutral base that works with any color of candy coating or sprinkles. Red velvet cake with cream cheese frosting is another good combination, especially with white chocolate on the outside.
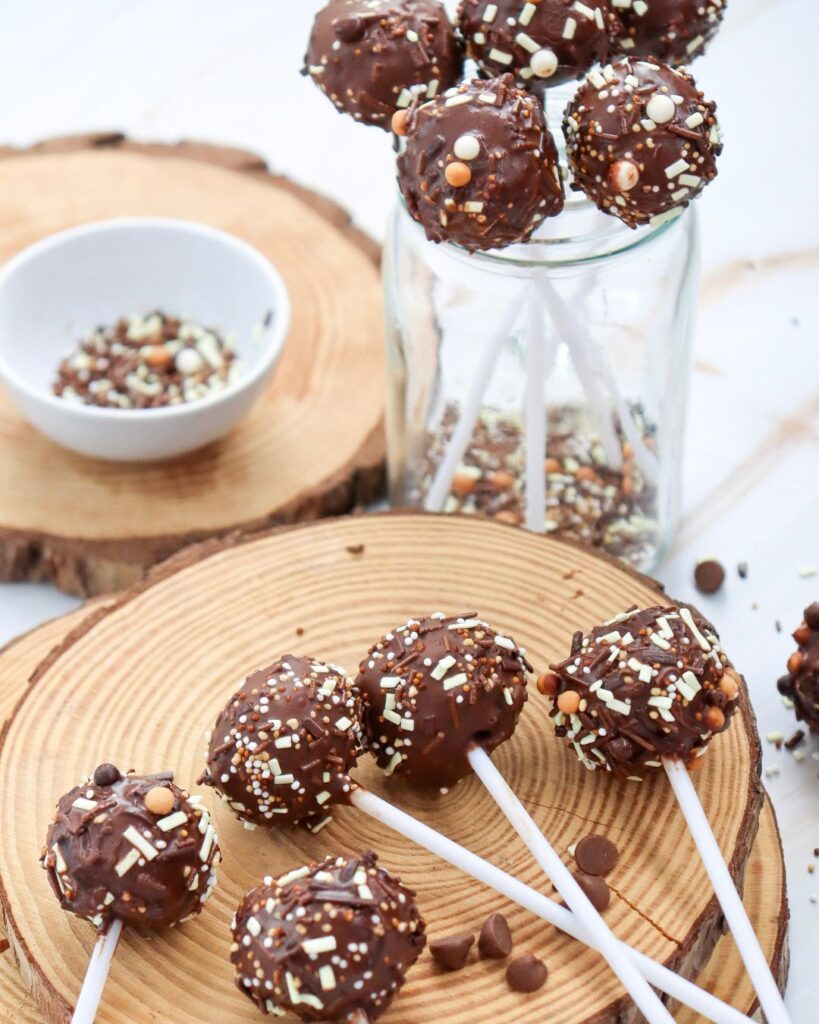
You can also match the colors to an event. Use school colors for graduation, red and green for Christmas, pastels for Easter, or a favorite color for a birthday.
Can You Make Cake Pops Ahead of Time?
Yes. Bake the cake a day before you plan to decorate and keep it covered once cool. You can also form the cake balls and refrigerate them before adding the sticks and coating.
Finished cake pops can be made ahead too. Keep them in a covered container after the coating has completely set so they don’t pick up moisture or refrigerator smells.
How to Store Cake Pops
Store finished cake pops in an airtight container. If the cake and frosting used are safe at room temperature, they can usually be kept in a cool room for a short period.
For longer storage, refrigerate them. Let chilled cake pops sit at room temperature briefly before serving, but keep them away from heat or direct sunlight so the coating doesn’t soften.
A+ Cake Pops Recipe
Cuisine: American
Servings: 12–16 cake pops
Baking time: 30–40 minutes
Crumbling and mixing: 15 minutes
Chilling time: 30–60 minutes
Melting and dipping: 20 minutes
Drying time: About 30 minutes
Total time: Approximately 2–3 hours
Ingredients
- 1 box cake mix, any flavor
- Ingredients called for on the cake mix box, usually eggs, water, and oil
- ½ cup Betty Crocker frosting, any flavor
- 1 cup chocolate chips, melting chocolate, or candy melts
- Sprinkles
- Lollipop sticks
- Styrofoam block or cake pop stand
Instructions
- Preheat the oven and prepare the cake mix according to the package instructions.
- Pour the batter into a greased baking pan and bake as directed, usually for 25–30 minutes.
- Let the cake cool completely.
- Crumble the cake into a large bowl until it resembles fine crumbs.
- Gradually mix in up to ½ cup of frosting, stopping when the mixture is moist enough to hold together.
- Scoop out 1 tablespoon portions and roll them into balls. Place them on a parchment-lined baking sheet.
- Refrigerate the cake balls for 30–60 minutes, until firm.
- Melt the chocolate in a microwave-safe bowl in 30-second intervals, stirring after each one.
- Dip one end of each lollipop stick into the melted chocolate and insert it halfway into a cake ball.
- Dip each cake pop into the chocolate until fully coated, then gently tap off the excess.
- Add sprinkles immediately.
- Place the cake pops upright in a Styrofoam block or cake pop stand for about 30 minutes, until set.
Notes
Add the frosting gradually. The amount needed depends on the cake’s flavor and moisture.
Use different cake, frosting, coating, and sprinkle combinations to match the occasion.